Phase 3 Hoenn route manual


Pokemon Ruby Sapphire Dynamo Badge Guide
 Dynamo Badge
 Pokemon Ruby and Sapphire Dynamo Badge guide: Slateport, Oceanic Museum, Route 110 rival battle, Mauville City, Rock Smash, Wally, and Wattson counters.
Phase 3 Dynamo Badge Slateport, Route 110, Mauville, Rock Smash, and Wattson. 03 / 10 
Catch checklist
Obtainable Pokemon
New Pokemon you can realistically add during this phase of the original Pokemon Ruby and Pokemon Sapphire route.
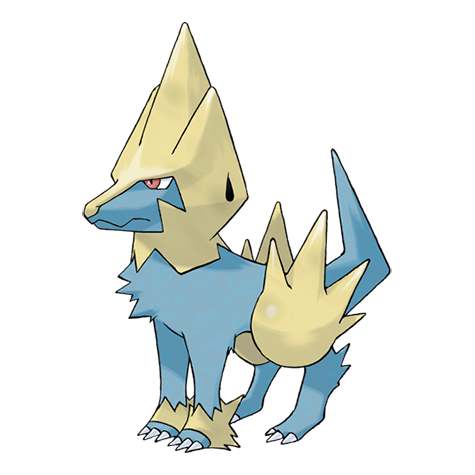
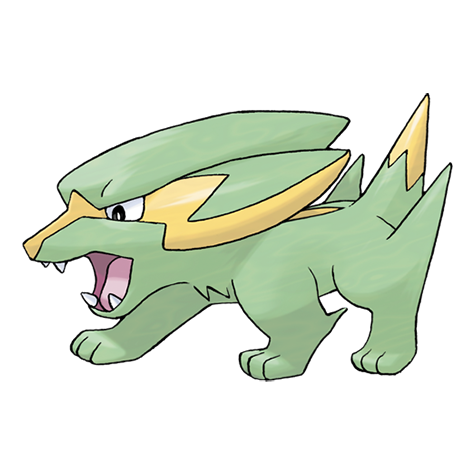 #0309 Electrike electric Ruby & Sapphire Route 110 Grass encounter
 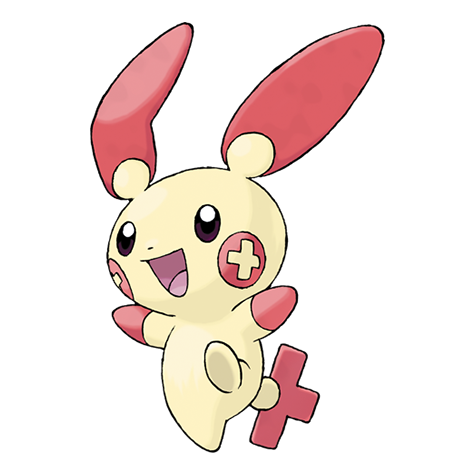 #0311 Plusle electric Ruby & Sapphire Route 110 Grass encounter More common in Sapphire, rarer in Ruby.
 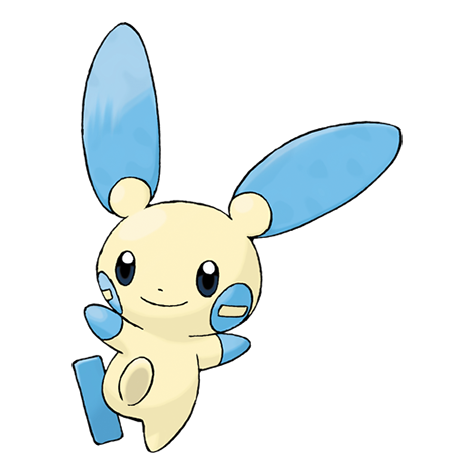 #0312 Minun electric Ruby & Sapphire Route 110 Grass encounter More common in Ruby, rarer in Sapphire.
 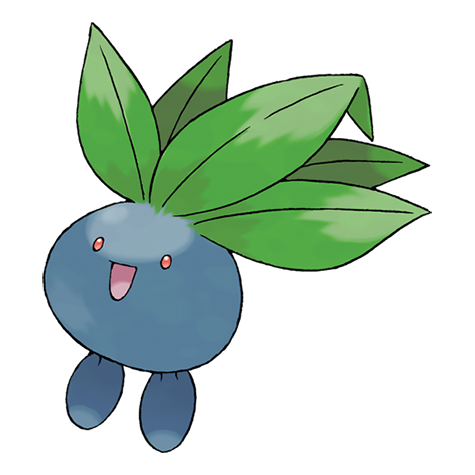 #0043 Oddish grasspoison Ruby & Sapphire Route 110 / Route 117 Grass encounter
 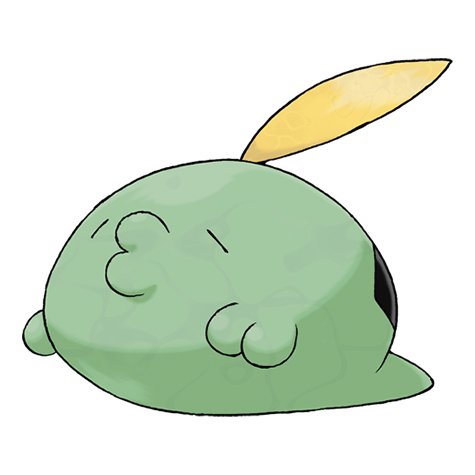 #0316 Gulpin poison Ruby & Sapphire Route 110 Grass encounter
 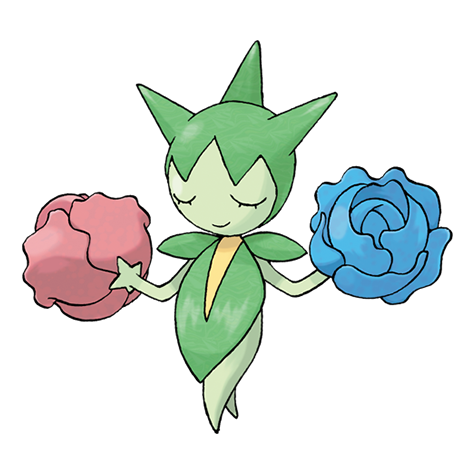 #0315 Roselia grasspoison Ruby & Sapphire Route 117 Grass encounter
 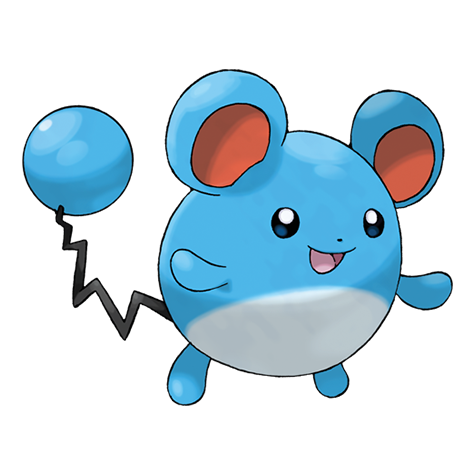 #0183 Marill water Ruby & Sapphire Route 117 Grass encounter
 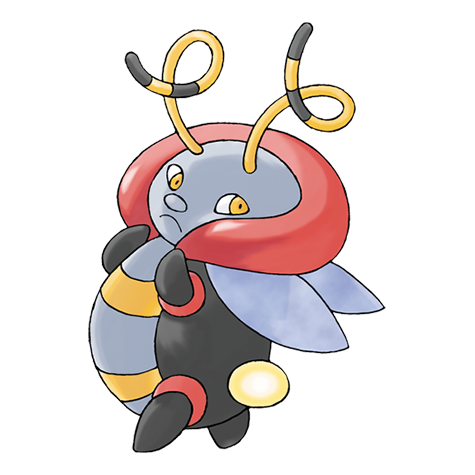 #0313 Volbeat bug Ruby & Sapphire Route 117 Grass encounter Version rates differ between Ruby and Sapphire.
 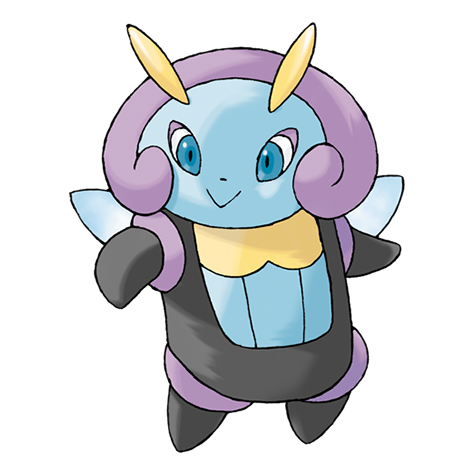 #0314 Illumise bug Ruby & Sapphire Route 117 Grass encounter Version rates differ between Ruby and Sapphire.
  #0283 Surskit bugwater Ruby & Sapphire Route 117 Rare grass encounter
 Dewford to Mauville City. This phase covers Slateport, the Oceanic Museum story event, Route 110’s rival battle, Mauville’s key unlocks, Wally, and Wattson.
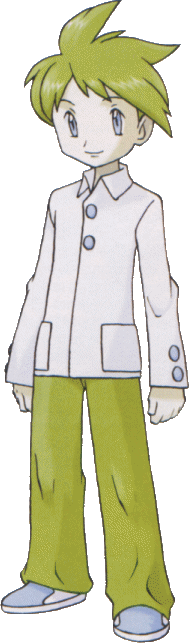
Pokemon Ruby and Sapphire optimal walkthrough
Slateport City -> Mauville City Gym (Wattson).
Route Map
Phase 3 has the first real difficulty spike. The Route 110 rival fight and Wattson both punish teams that coasted on one starter.
Phase Sections
Section Planner
| Order | Section | What it covers |
|---|---|---|
| 1 | Route 109 And Slateport Beach | Sail from Dewford to Slateport when Steven’s letter is delivered. Route 109’s beach trainers are optional, but you should clear them for money and experience. |
| 2 | Oceanic Museum | The museum is blocked by your version’s villain team until you trigger the shipyard step. |
| 3 | Route 110 | Route 110 is one of the best midgame encounter routes because Electrike appears here. |
| 4 | Mauville City | Mauville is a utility hub. Get a Bike from Rydel’s Cycles. The Mach Bike is faster and required for some slopes; the Acro Bike handles tricks and rails. |
| 5 | Gym Strategy - Wattson, The Electric Leader | Wattson uses Magnemite Lv. 22, Voltorb Lv. 20, and Magneton Lv. 23. His reward is the Dynamo Badge and TM34 Shock Wave. |
| 6 | Phase 3 Resources And Checklist | Team Recommendations Role Best picks for Wattson Why it matters --- --- --- Hard counter Marshtomp Ground typing ignores Electric attacks Ground backup Geodude Resists Normal hits. |
Route 109 And Slateport Beach
Sail from Dewford to Slateport when Steven’s letter is delivered. Route 109’s beach trainers are optional, but you should clear them for money and experience. The Seashore House rewards you with Soda Pop after beating the trainers inside. Soda Pop is cost-efficient healing for this point in the game.
Slateport City has a large market, a Pokemon Fan Club, the Name Rater, the Contest Hall, the shipyard, and the Oceanic Museum. The story path is shipyard first, then museum. Talk to Dock in the shipyard so he tells you Captain Stern is at the museum.
Oceanic Museum
The museum is blocked by your version’s villain team until you trigger the shipyard step. Pay the entry fee, talk to Captain Stern upstairs, and defeat the two grunts who interrupt the delivery.
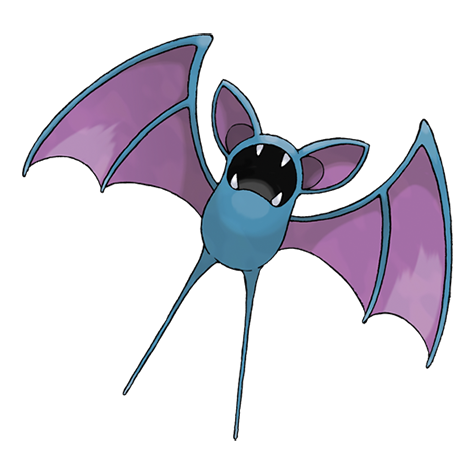
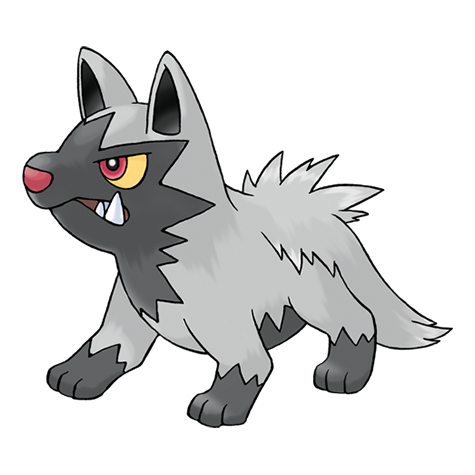
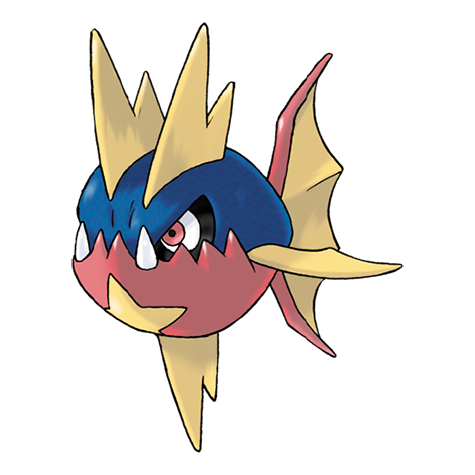
Ruby uses Team Magma. Sapphire uses Team Aqua. At this stage the difference is mostly flavor: expect Poochyena, Zubat, Numel for Magma routes, and Poochyena, Zubat, Carvanha for Aqua routes as the game goes on.
After Stern receives the Devon Goods, the northern exit toward Route 110 opens as your next main path.
Route 110
Wild Pokemon
Route 110
| Pokemon | Versions | Method & Rate | Notes |
|---|---|---|---|
|
Electrike
|
Ruby & Sapphire | Grass 30% | The main Electric pickup before Winona and the water-heavy back half. |
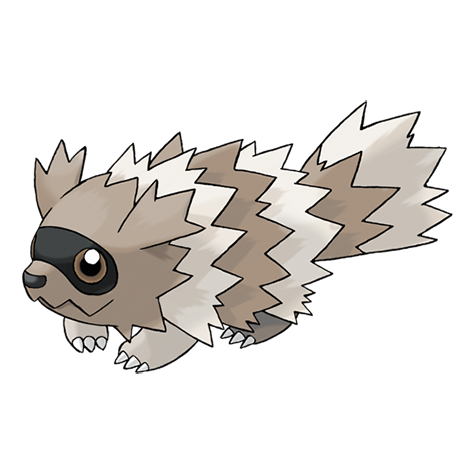 Zigzagoon
|
Ruby & Sapphire | Grass 20% | Available in the listed area during this phase. |
|
Gulpin
|
Ruby & Sapphire | Grass 15% | Bulky Poison utility and status support. |
|
Minun
|
Ruby only | Grass 15% | Available in the listed area during this phase. |
|
Plusle
|
Sapphire only | Grass 15% | Available in the listed area during this phase. |
|
Oddish
|
Ruby & Sapphire | Grass 10% | Available in the listed area during this phase. |
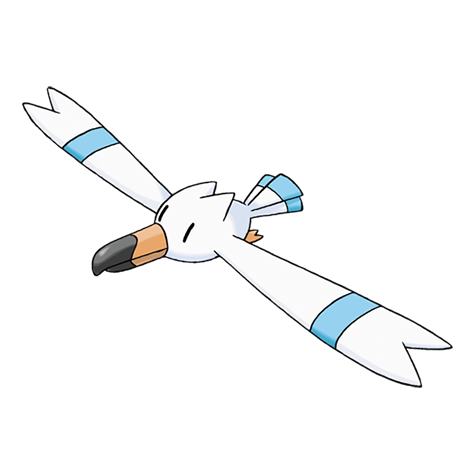 Wingull
|
Ruby & Sapphire | Grass 8% | Available in the listed area during this phase. |
|
Plusle
|
Ruby only | Grass 2% | Available in the listed area during this phase. |
|
Minun
|
Sapphire only | Grass 2% | Available in the listed area during this phase. |
Route 110 is one of the best midgame encounter routes because Electrike appears here. Manectric is a huge help into Winona and Wallace, and it gives Hoenn teams a fast Electric type before the ocean-heavy back half.
The Trick House is also here. It is optional, but clearing each available puzzle as the story progresses gives useful items and extra experience. If you are building guides around completion, call it out in every phase where a new Trick House stage opens.
The rival battle under Cycling Road is the main roadblock. Brendan or May brings the starter line that beats yours plus support Pokemon. Heal before you step into the trigger area. If your starter is overworked, this battle can feel tougher than Wattson.
Mauville City
Wild Pokemon
Route 117
| Pokemon | Versions | Method & Rate | Notes |
|---|---|---|---|
|
Roselia
|
Ruby & Sapphire | Grass 30% | Strong special Grass/Poison utility for the middle game. |
|
Zigzagoon
|
Ruby & Sapphire | Grass 30% | Available in the listed area during this phase. |
|
Illumise
|
Ruby only | Grass 18% | Available in the listed area during this phase. |
|
Volbeat
|
Sapphire only | Grass 18% | Available in the listed area during this phase. |
|
Marill
|
Ruby & Sapphire | Grass 10% | Available in the listed area during this phase. |
|
Oddish
|
Ruby & Sapphire | Grass 10% | Available in the listed area during this phase. |
|
Surskit
|
Ruby & Sapphire | Grass 1% | Available in the listed area during this phase. |
|
Volbeat
|
Ruby only | Grass 1% | Available in the listed area during this phase. |
|
Illumise
|
Sapphire only | Grass 1% | Available in the listed area during this phase. |
Mauville is a utility hub. Get a Bike from Rydel’s Cycles. The Mach Bike is faster and required for some slopes; the Acro Bike handles tricks and rails. You can swap later, so pick Mach Bike first if you want broad utility.
Get HM06 Rock Smash from the man in the southeastern house. You cannot use Rock Smash outside battle until Wattson is defeated, but you need it soon for Rusturf Tunnel and the northern route.
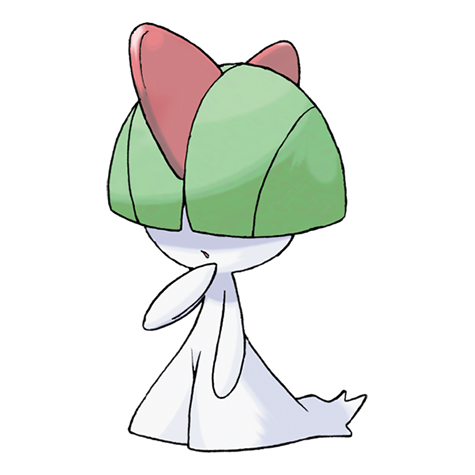
Wally challenges you outside the Gym with a Ralts. It is more of a character beat than a boss fight, but it sets up his long-term arc. After Wally leaves, Wattson’s Gym is open.
Gym Strategy - Wattson, The Electric Leader
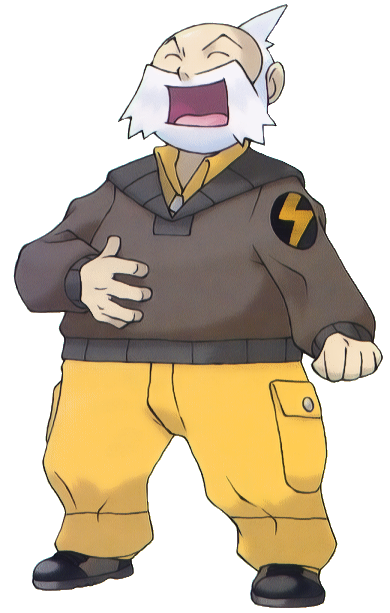
Wattson uses Magnemite Lv. 22, Voltorb Lv. 20, and Magneton Lv. 23. His reward is the Dynamo Badge and TM34 Shock Wave. The Dynamo Badge lets you use Rock Smash outside battle.
Gym Leader
Wattson, Mauville Gym
Marshtomp makes this simple, but teams without Ground immunity must respect paralysis, SonicBoom chip, and Magneton's bulk.
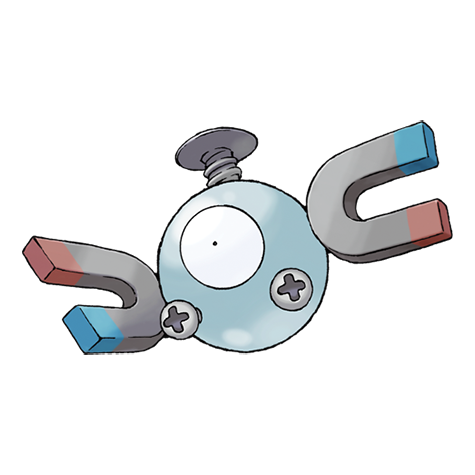
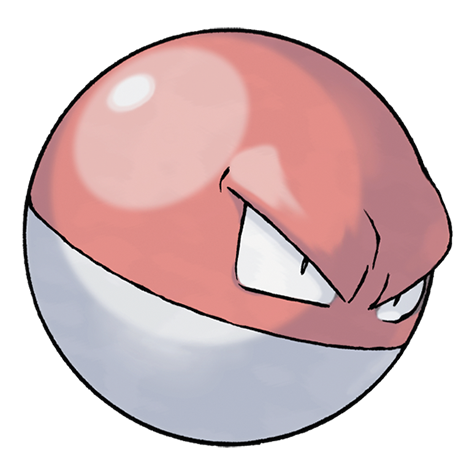
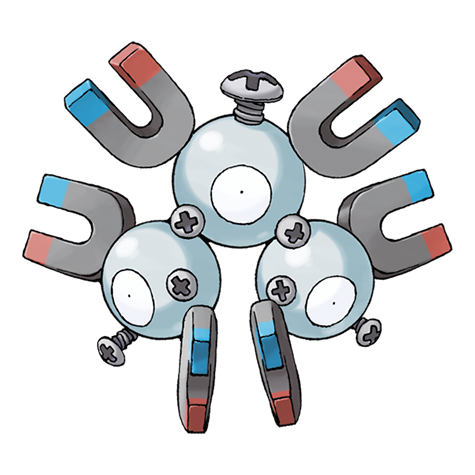
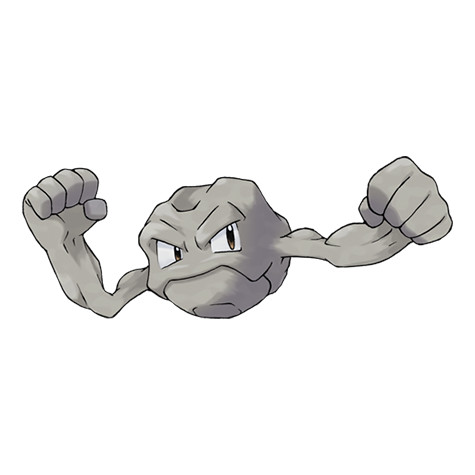
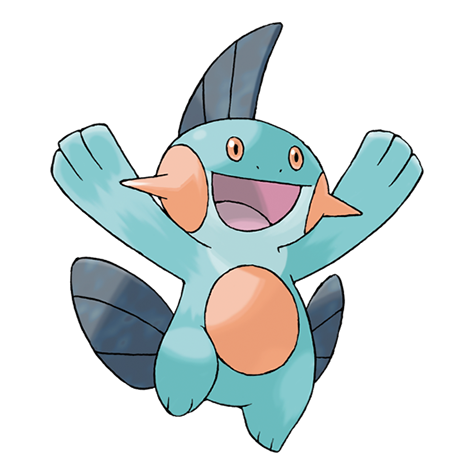
Marshtomp is the cleanest answer in the game. Electric moves fail against Ground typing, and Mud Shot hits Magnemite and Magneton super effectively. Geodude can also help, though it must respect SonicBoom chip and any non-Electric coverage.
If you do not have a Ground type, use Fighting attacks into the Steel/Electric Pokemon and keep healing ready. Voltorb can punish careless low-HP Pokemon, and paralysis can slow down a team that looks fine on paper.
Phase 3 Resources And Checklist
Team Recommendations
| Role | Best picks for Wattson | Why it matters |
|---|---|---|
| Hard counter | Marshtomp | Ground typing ignores Electric attacks |
| Ground backup | Geodude | Resists Normal hits and threatens Electric types |
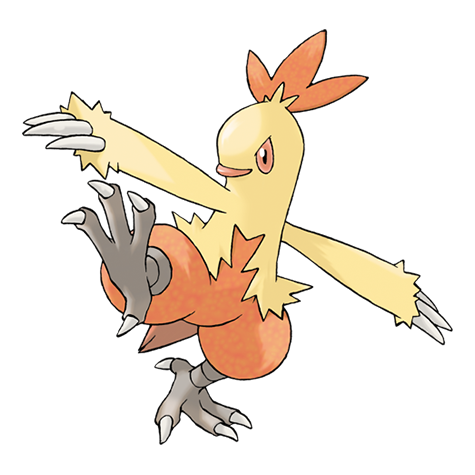
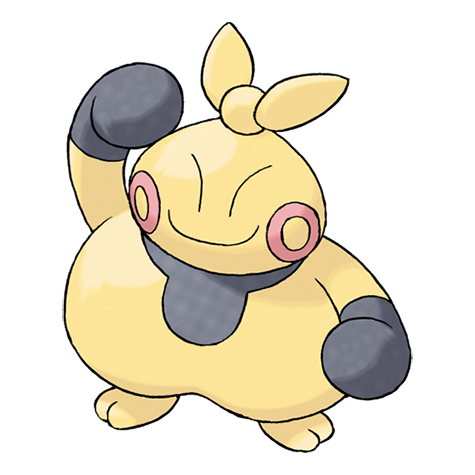
| Fighting pressure | Makuhita, Combusken | Helps into Magnemite and Magneton |
| Long-term catch | Electrike | Not useful into Wattson, excellent later |
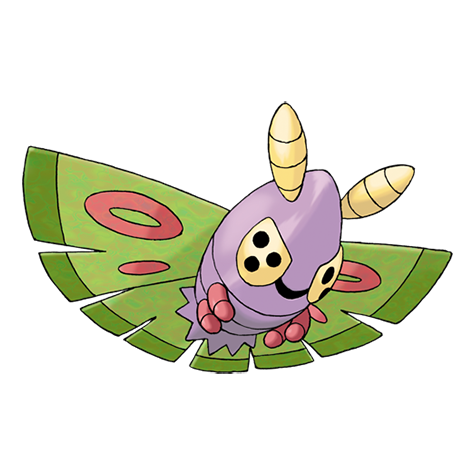
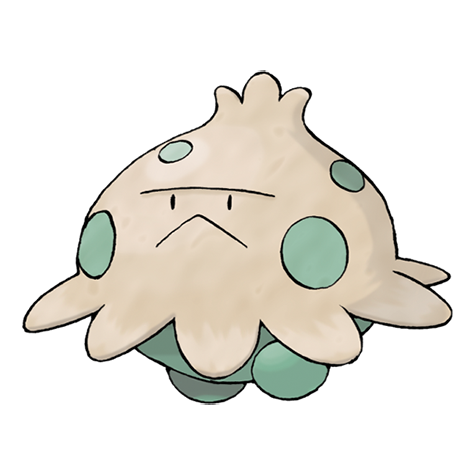
| Status support | Shroomish, Dustox | Paralysis or poison can reduce pressure |
Must-Grab Items (Phase 3 Master List)
| Item | Location | Why You Want It |
|---|---|---|
| Soda Pop | Seashore House reward/shop | Cheap healing before Mauville |
| Devon Goods delivery | Oceanic Museum | Required story progression |
| Itemfinder | Rival after Route 110 battle | Helps locate hidden items |
| Bike | Rydel’s Cycles in Mauville | Required for Cycling Road and optional areas |
| HM06 Rock Smash | Mauville NPC house | Required for route progression after Wattson |
| Coin Case | Mauville side quest | Optional Game Corner access |
After The Badge
Use Rock Smash in Rusturf Tunnel to break the rocks separating Wanda and her boyfriend. The boyfriend gives HM04 Strength as thanks. You cannot use Strength outside battle until Flannery is beaten, but getting it now keeps the next phase clean.
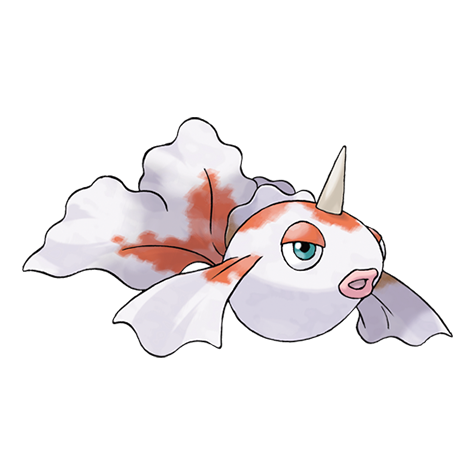
Wild Pokemon
Old Rod Cleanup
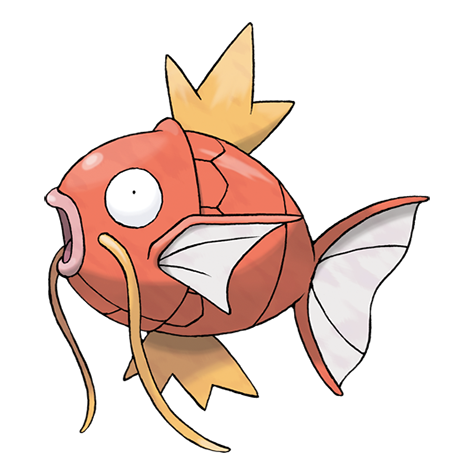
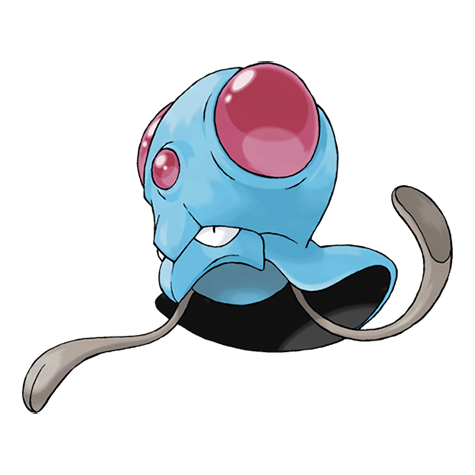
The Old Rod from Dewford lets you backfill simple water encounters before pushing farther north.
Version Note Summary
Ruby and Sapphire have the same Wattson fight. The version difference in this phase is mostly villain flavor in the Oceanic Museum and your available encounters. Electrike is available in both, so do not skip it just because it cannot help against Wattson.
Phase 3 Checklist
- Sail to Slateport and clear the Route 109 beach trainers.
- Visit the shipyard, then deliver the Devon Goods at the Oceanic Museum.
- Catch or consider Electrike on Route 110.
- Heal before the Route 110 rival battle.
- Get a Bike from Rydel's Cycles in Mauville.
- Get HM06 Rock Smash in Mauville.
- Defeat Wally outside the Gym.
- Defeat Wattson and receive the Dynamo Badge.
- Break the rocks in Rusturf Tunnel and get HM04 Strength.
Dex quick links